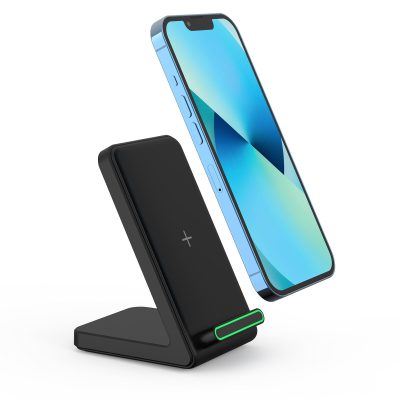
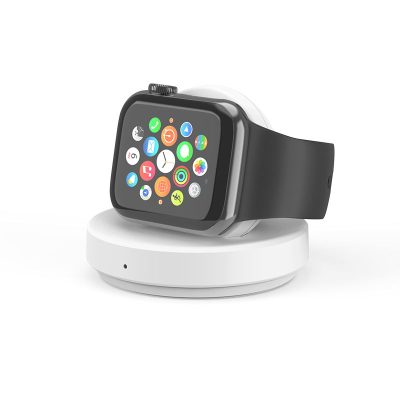
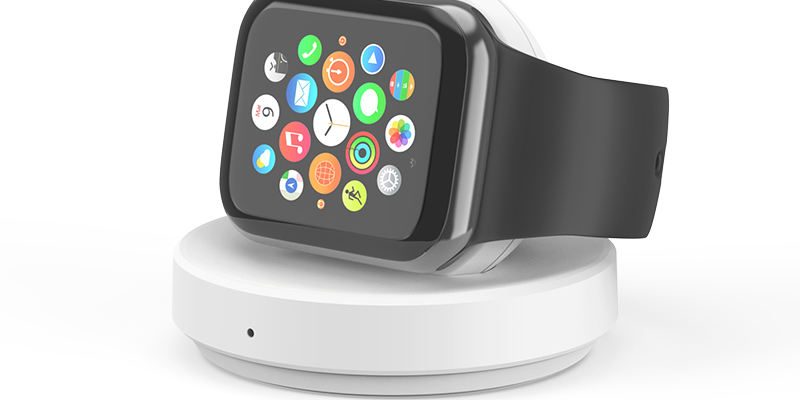
Are you interested in creating your own wireless charger? Here’s a guide to help you build a custom charging solution at home:
Understanding Wireless Charging Technology
Wireless charging, also known as inductive charging, transmits electrical energy between two coils through an electromagnetic field. When a device is placed near the charging pad, it absorbs this energy and converts it into electricity to charge the device’s battery.
Materials Needed
Before you start building your wireless charger, gather the following materials:
- Wireless charging module: This is the core component responsible for the wireless transfer of energy.
- Power source: You can use a USB wall adapter or a power bank.
- Charging coil: This is the receiver connected to your device for wireless charging.
- Suitable enclosure: This could be a 3D-printed box or any similar structure to house the charger components.
- Connecting wires: For establishing the necessary connections.
- Soldering iron and solder: For connecting wires and components.
- Drill or cutter: For creating openings for the charging port and wires.
Steps to Create Your DIY Wireless Charger
- Prepare the Enclosure: Start by preparing an enclosure for your wireless charger. If you have a 3D printer, you can design and print a custom enclosure. Alternatively, you can repurpose an existing box or container to house the charger components.
- Install the Charging Module: Place the wireless charging module inside the enclosure, ensuring it is securely fastened. The charging module should have clearly marked input and output terminals. Use the appropriate wires to connect the input terminals to the power source and the output terminals to the charging coil.
- Connect the Charging Coil: Connect the charging coil to your device. Identify the charging port or any area suitable for wireless charging on your device. Typically, the charging coil is placed behind the device’s back cover or directly on the battery. Determine the ideal position for the coil and secure it with adhesive or tape. Ensure the coil is correctly aligned with the wireless charging module inside the enclosure.
Enhancing Your Wireless Charger
Now that you have a basic wireless charger, explore additional enhancements to improve its functionality and appearance:
- Create a Charging Pad: Instead of a single transmit coil, you can construct a charging pad with a larger surface area. This allows you to charge multiple devices simultaneously.
- Encapsulate the Components: To protect the internal circuitry and create a more refined look, consider encapsulating the transmit coil, receive coil, and charging module in a custom 3D-printed or wooden enclosure.
- Add Indicator Lights: Incorporate LED indicator lights to visually signal charging status. This is particularly useful when charging multiple devices at once.
- Integrate with Furniture: For a truly seamless charging experience, integrate the wireless charger into your furniture. You can build a charging station into a table or create a charging shelf for a bedside table.
By following these steps and exploring additional enhancements, you can create a personalized charging solution that meets your needs. Always prioritize safety when working with electrical components and consult relevant guides and manuals. Enjoy the convenience of wireless charging and say goodbye to tangled wires. Happy DIYing!


